|

Login - Specialist suppliers
Login - Sales representatives
|
Craft ideas and instructions
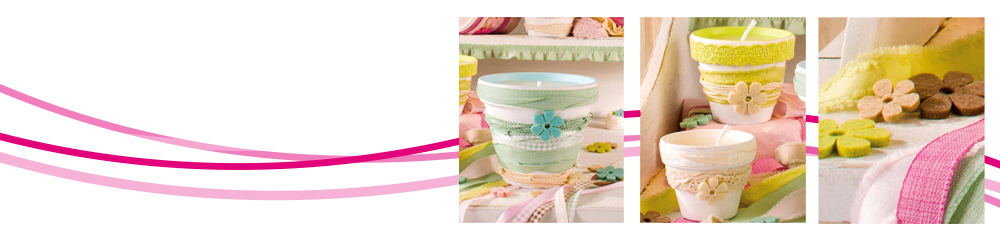
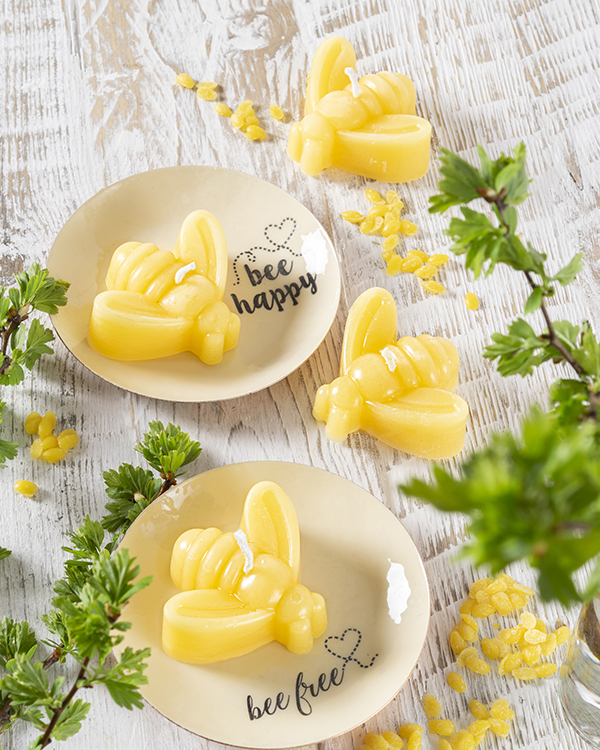
Candle "Bee"
Idea and realisation: Kathleen Hauck
|
enlarged picture
enlarged picture
|
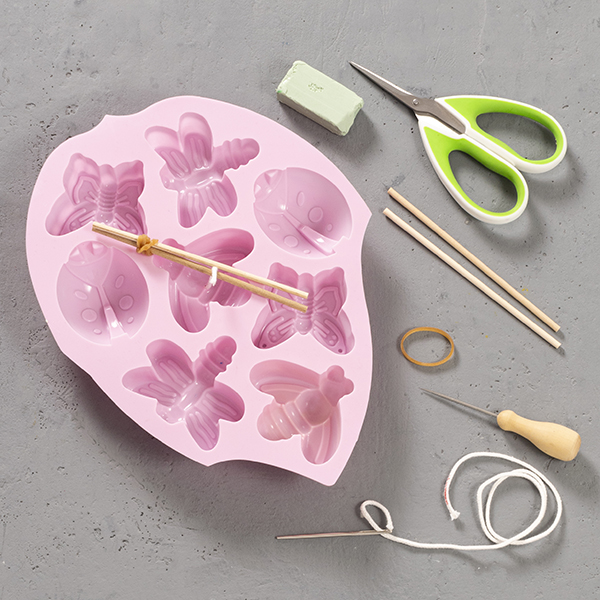
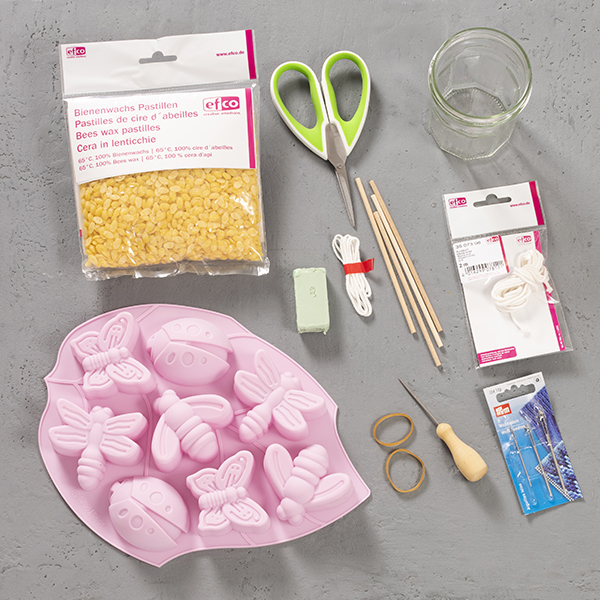
List of materials
| Art. no. | Name of article |
| 1802532 | Hobby scissors comfortline, with soft grip, 15,1 x 8,4 x 1,3 cm |
| 1827109 | Pricking needle, 9 cm, 1 pc. |
| 2523308 | Smyrnaneedles, 50 / 60 / 70 mm, 3 pcs. |
| 9500205 | Silicone mould, beetles and butterflies, 5,5 x 6,5 - 6,5 x 7,5 cm, 8 fold |
| 3503702 | Bees wax pastilles, 65°C, 100% Bees wax, 200 g |
| 3507306 | Round wick, Nr.6, 2 m |
| 3536001 | Candle making accessories, 6 parts |
| Additional: elastic bands, water bath, empty clean preserving jar for melting wax |
|
Instructions
| 1. | Firstly, prepare the mould. To do this, pierce a small hole in the centre of the bee's body with the prickle needle. Pull the wick through the hole with the smyrna needle. This must be done carefully so that the hole does not get bigger or tear. Then apply some heat-resistant modelling clay to the outside of the wick. Secure the wick with the wooden sticks. To do this, tie 2 sticks together on one side with a household rubber band and push the wick between them. Or fix the wick to a wooden stick as described in the instructions. Repeat the process for the second bee. |
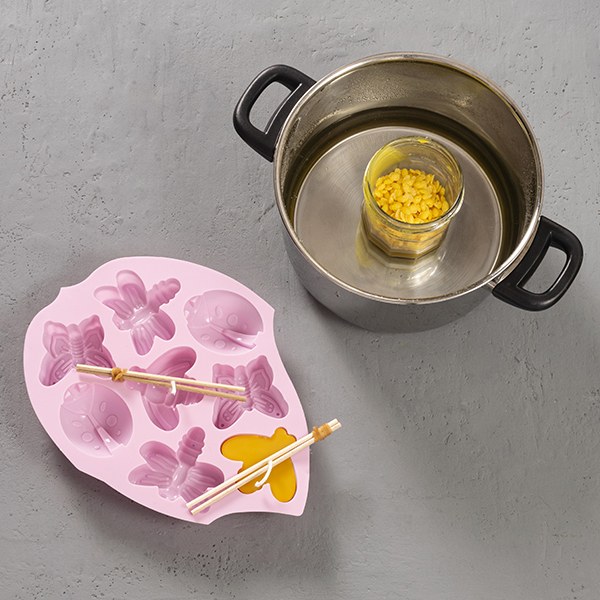
| 2. | Pour the beeswax into the empty, clean preserving jar and allow it to melt slowly in a bain-marie. When the wax is liquid, carefully pour it into the prepared bee moulds. The wax must now cool and harden. |
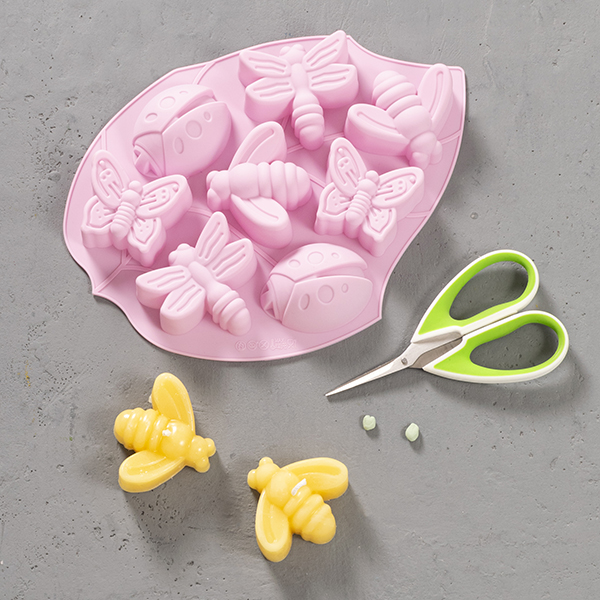
| 3. | When the wax has completely cooled and hardened, the modelling clay on the underside of the mould can be removed. Then unmould the candle by carefully turning the silicone mould inside out. Now carefully pull the wick through the hole in the mould. Cut back the wick on the back of the motif and, if necessary, also on the front. |
|
|
|
TipWhen inserting the wick, please always observe the burning direction. The base of the wick is always labelled red.
« back to the overview
|
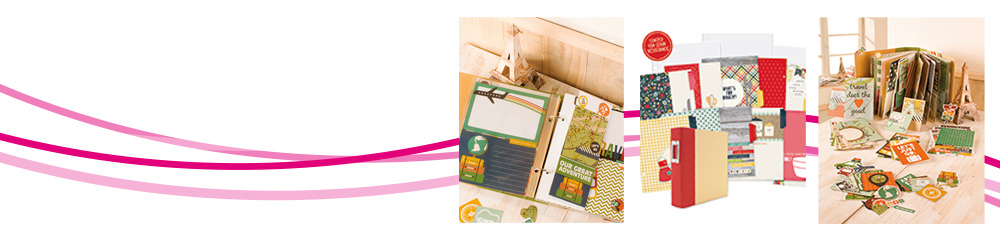
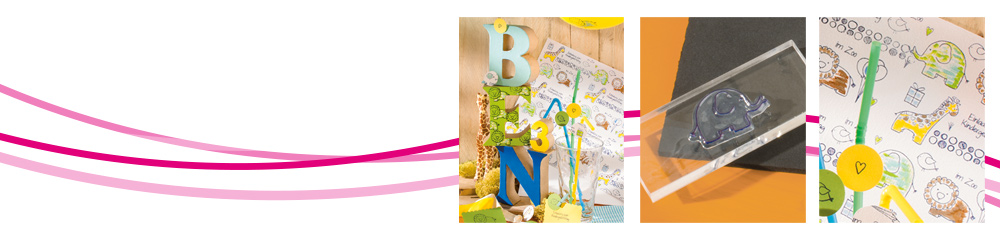
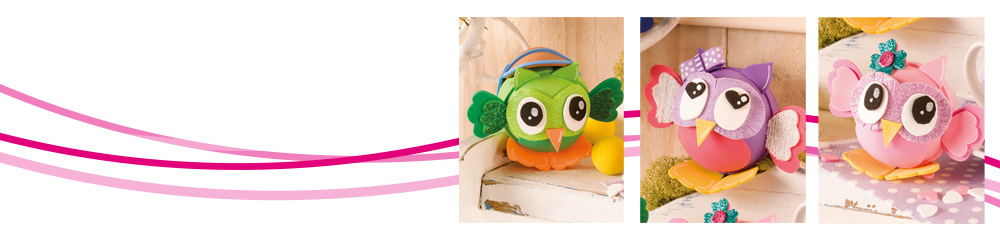
Creative tips
more on the subject »
more on the subject »
more on the subject »
|