|

Login - Specialist suppliers
Login - Sales representatives
|
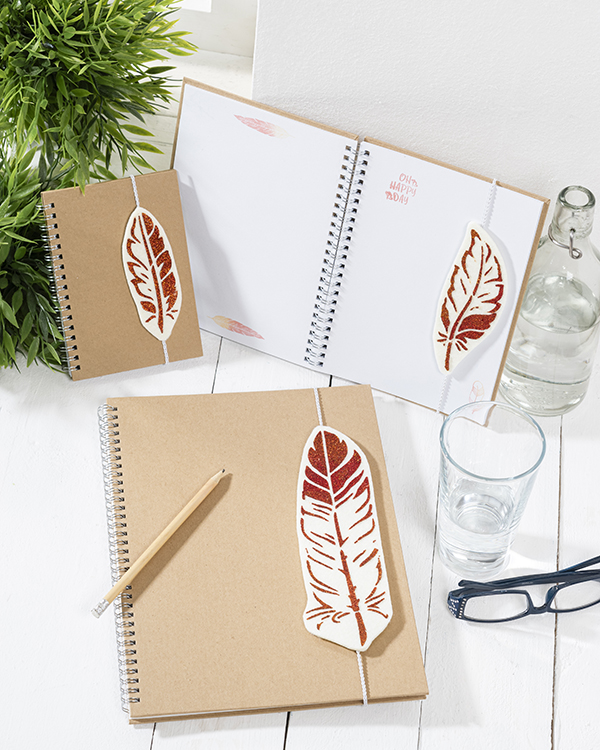
Craft ideas and instructions
Bookmark
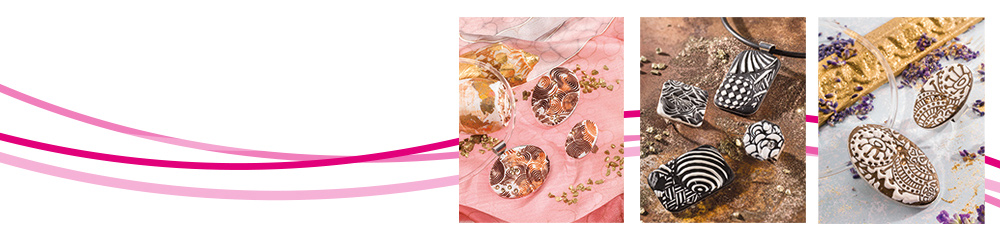
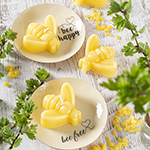
Idea and realisation: Kathleen Hauck
|
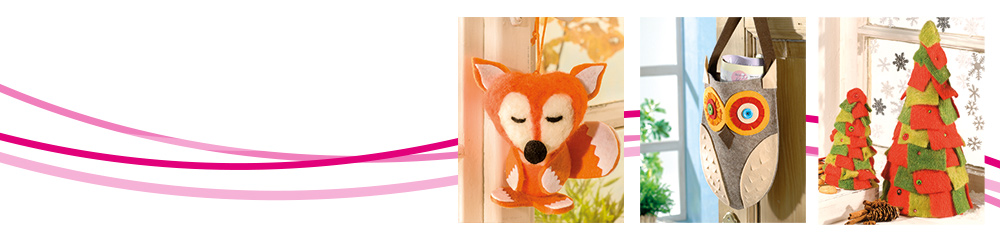
enlarged picture
enlarged picture
|
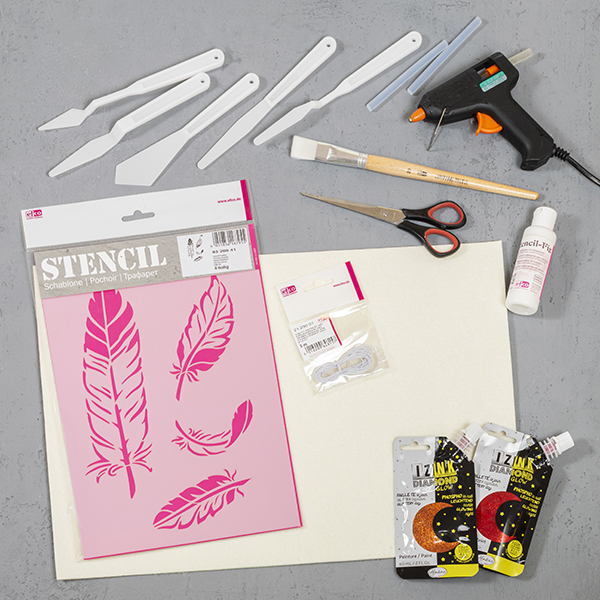
List of materials
| Art. no. | Name of article |
| 1880420 | Flat paintbrush synthetic hair, Gr. 20 / 19 mm |
| 1823105 | Spatula plastic, 17 - 19 cm, 5 parts, white |
| 1803103 | Universal scissors, 16 cm, black / red |
| 1804101 | Hot glue gun, 20 W, for ø 7,4 mm |
| 1200702 | Felt sheet, for decorations, 30 x 45 cm x ~3,0 mm, ~450 g/m², cream |
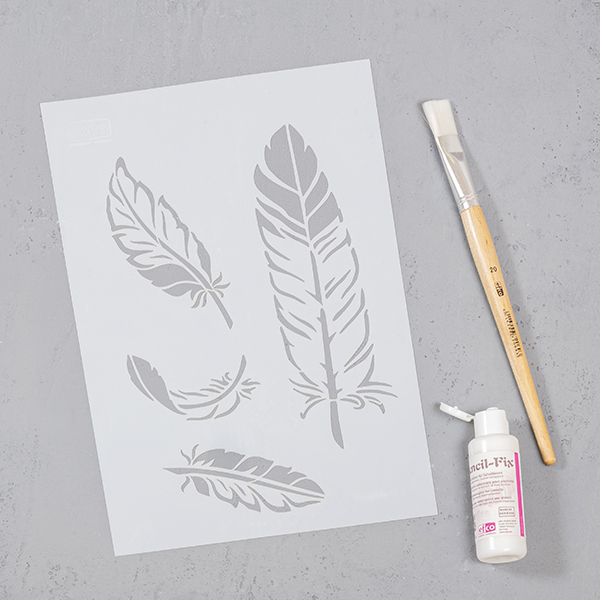
| 9320841 | Stencil, feathers, DIN A4, 4 parts |
| 9320300 | Stencil-Fix, Glue for stencils, 50 ml / 50 g |
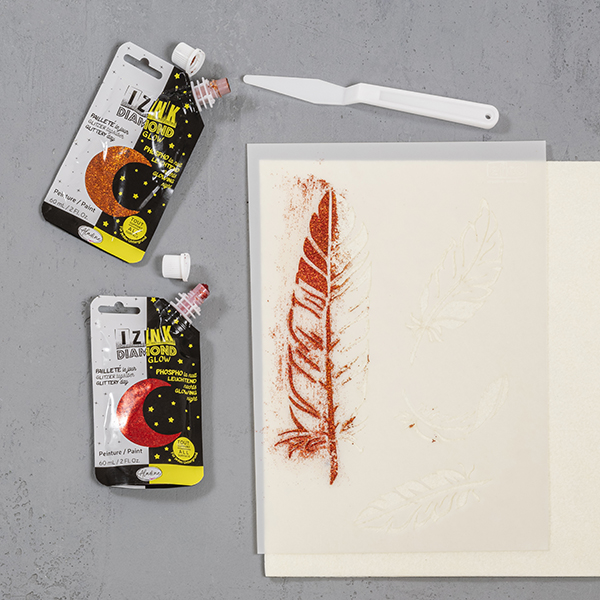
| 4553228 | IZINK DIAMOND, GLOW, 60 ml, red |
| 4553293 | IZINK DIAMOND, GLOW, 60 ml, copper |
| 2123001 | Hat elastic, washable 60°, Ø 0,9 mm, 3 m, white |
| Additionally: Baking paper |
|
Instructions
| 1. | Apply Stencil-Fix directly to the back of the stencil and spread evenly with a brush. Leave to dry. When the adhesive has dried, it will feel sticky.Thereby it adheres perfectly to the surface and prevents that the colour running underneath. |
| 2. | Place the stencil on the felt plate. Apply some red and copper-coloured DIAMOND paste to the stencil and spread it with the spatula. The motif should be completely filled in. The colours can blend into each other to create a beautiful colour gradient. Then remove the stencil and allow the motif to dry. Clean the stencil. |
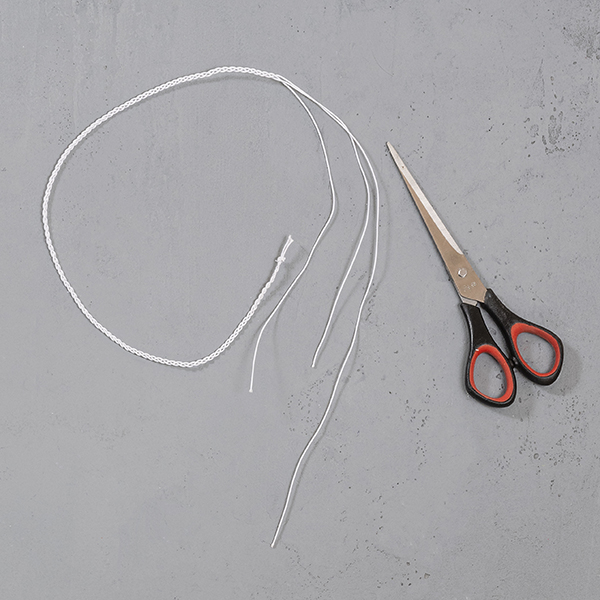
| 3. | Cut the rubber hat band into 3 equal parts and knot the ends together. Then plait a pigtail and finish also with a knot. |
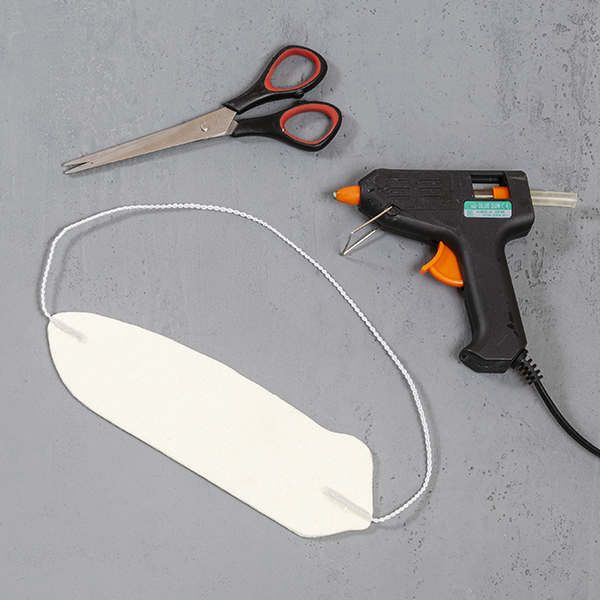
| 4. | Cut out the feather with the same spacing. Use the hot glue gun to attach 2-3 cm long end of the rubber hat to the back, at the top and bottom. If necessary, cut off the knots if they are too thick. |
|
|
|
« back to the overview
|
Creative tips
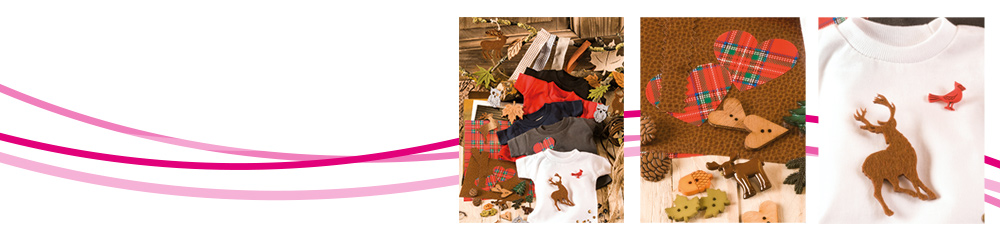
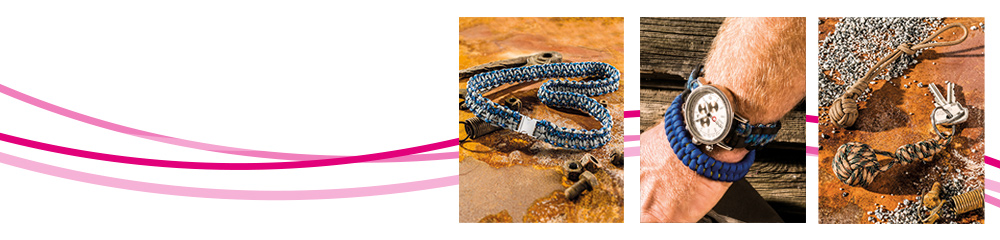
more on the subject »
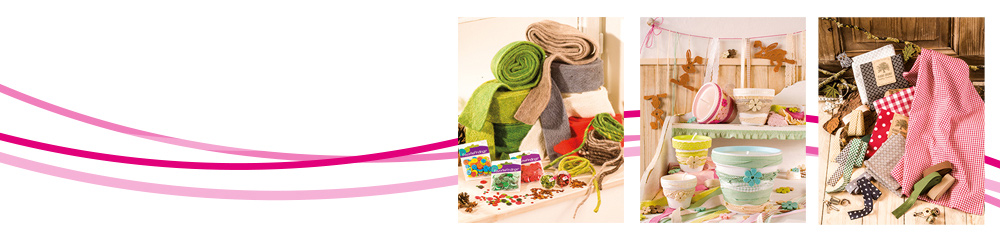
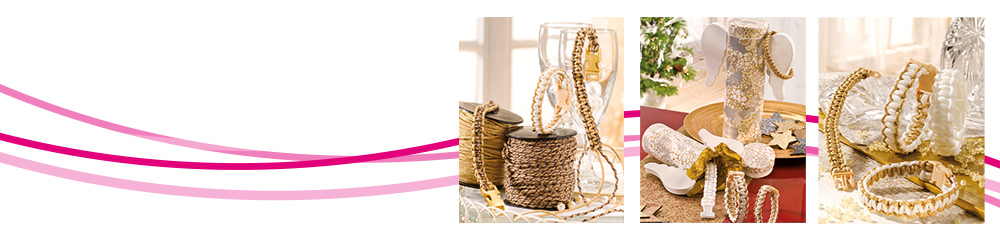
more on the subject »
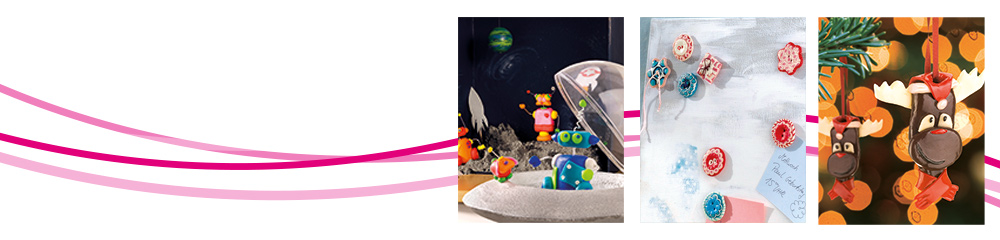
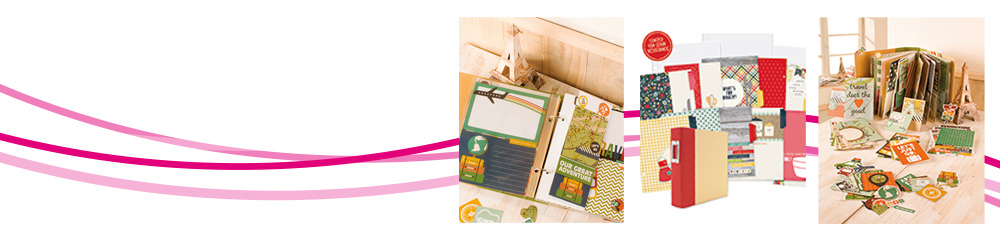
more on the subject »
|